Tuesday, May 29, 2007

My idea about fonts were totally wrong

Guess how I had setup the fonts was not good enough. Anyway I finally got it right...phew.. First off I had to install the latest freetype2 rendering engine by David Turner. I got the instructions from here:
Then although the desktop seemed to be alright, the rendering in firefox was totally crap. While browsing around I finally came upon a discussion where the person tried to modify fonts through about:config. It kind of struck me that maybe I could do something through that then. Opened it up and changed the parameters realated to Freetype2, and viola the font rendering is so much better than in Windows.
I have posted parts of my about:config I modified below:
font.FreeType2.autohinted true
font.FreeType2.enable true
font.FreeType2.unhinted false

Finding Package Name with apt-cache

To search for a particular package name with its dependency use:
apt-cache search
For e.g. to search for superkaramba use
apt-cache search karamba
and I get a response like this
libu@toxicware:~$ apt-cache search karamba
karamba - A program improving the eyecandy of KDE
memaid-pyqt - memorization tool with optimal question scheduling
superkaramba - a program based on karamba improving the eyecandy of KDE

Monday, May 28, 2007

Not digiKam

I decided against digiKam, as I did not want to create another folder structure for the images I already have. Right now all my Photos are in Windows and I access them by mounting the windows partition as a read only filesystem on Ubuntu. Now when I import the photos through digiKam, it creates a copy of these images and almost uses up my entire space. And the more I think about it, the more difficult its going to be for me to settle on a photo management software. More the pity I guess, as I certainly don't want to boot into Windows every time I modify or add photos.
Meanwhile I found another software called LightZone which is like a RAW reader and modifier. The software looks good, but since I have not yet started shooting in RAW, its most probably going to stay dormant for some time. Hopefully by then I would be able to find a suitable Photo Management Software for Linux.

Photo Management Software

I have been meaning to use a Photo Management software for my Photos. I had been fooling around with Picassa on Windows, but somehow I just don't feel like using it on Linux.
Did some reading around and kind of figure that digiKam would be the way to go. There are other options too, but at the moment, I think I will try out digiKam.
One prinicipal reason, is that digiKam does not create external tags, rather it writes the tag into the metadata of the photo. So this way I might be able to get out of creating tags for the photos, when I upload them onto flickr. So then digiKam it is, at least for the time being.

My Desktop

I kind of am done with setting up and customizing my desktop. I used the deesktop theme from KDE-look.org and modified that. The theme was created by user Deee and its pretty good.

My desktop now looks like this :D :

Sunday, May 27, 2007

Mounting Windows Partition

I need to mount 2 ntfs partitions and a Fat32 partition in Ubuntu. Right now, since I'm not setting up the ntfs write utility on my system, I need to only the Fat32 partition as writable. I would want these partitions to be automatically mounted every time I boot into Ubuntu, the easiest method would be to use the /etc/fstab file.

The fstab file is well structured into columns each separated by either a tab or space, I prefer tab since its easier on the eyes and I need it ;) !!

The structure of the file:


1st Column - This is the device/filesystem to be mounted (e.g. /dev/sda, foo.test.in:/home/test/)

2nd Column - This is the mount point for the filesystem, i.e. where we want to mount the device or fielsystem on the system (e.g. /mnt/Win/common)

3rd Column - Type of the filesystem i.e. to be mounted (vfat, ntfs, e.t.c.)

4th Column - A comma separated list of mount options for the filesystem.
Some common options (from manpage of fstab):
noauto - this means do not mount the filesystem on boot
user - allow a user to mount
owner - allow device owner to mount

5th Column - This field is used by dump command to determine which filesystems needs to be dumped. If '0' then filesystem does not need to be dumped.

6th Column - Used by fsck program to determine the order in which filesystem checks are to be done during reboot. If no value is specified then fsck will not check this filesystem. (NOTE: Linux automatically does an fsck check if the filesystem has been mounted, unmounted for a specific number of times.)
Initially I created the following /etc/fstab:


proc /proc proc defaults 0 0
/dev/scd0 /media/cdrom0 udf,iso9660 user,noauto 0 0
/dev/sda5 /mnt/Win/softvideo ntfs rw,users 0 0
/dev/sda6 /mnt/Win/games ntfs rw,users 0 0
/dev/sda7 /mnt/Win/common vfat rw,users 0 0
And my designated mount points at the moment have the following permissions and owners:


libu@toxicware:/$ ll mnt/
total 4
drwxr-xr-x 5 libu libu 4096 2007-05-27 01:19 Win
libu@toxicware:/$ ll mnt/*
total 12
drwxr-xr-x 2 libu libu 4096 2007-05-27 01:19 common
drwxr-xr-x 2 libu libu 4096 2007-05-27 01:19 games
drwxr-xr-x 2 libu libu 4096 2007-05-27 01:19 softvideo
Now when I run the command "sudo mount -a", the directory structure changes as follows:


libu@toxicware:/$ ls -l mnt
total 4
drwxr-xr-x 5 libu libu 4096 2007-05-27 01:19 Win
libu@toxicware:/$ ls -l mnt/Win
total 20
drwxr-xr-x 13 root root 4096 1969-12-31 19:00 common
dr-x------ 1 root root 8192 2007-05-24 18:44 games
dr-x------ 1 root root 8192 2007-05-24 18:44 softvideo
I'm not sure why common has different directory permission from games and softvideo. The only reason I can think of is 'coz its a vfat filesystem.
Edit: I believe I was wrong about that. It must be because, I set game and softvideo as read-only partitions. That must be it me thinks.

And this setup does not help me, since I can't access the Windows partition as a normal user.
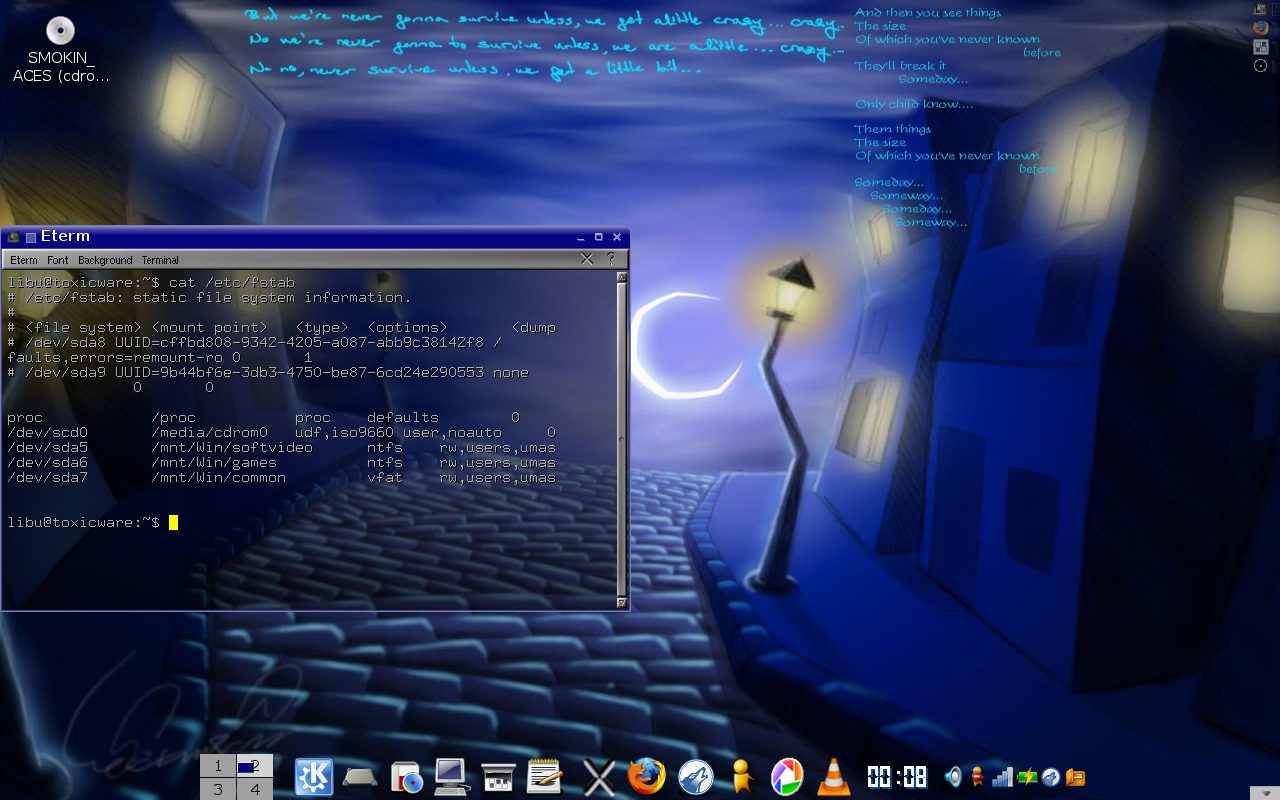
I solved this by setting umask to 0. (The default would have been 022). Now my fstab file looks like this:


proc /proc proc defaults 0 0
/dev/scd0 /media/cdrom0 udf,iso9660 user,noauto 0 0
/dev/sda5 /mnt/Win/softvideo ntfs rw,users,umask=0 0 0
/dev/sda6 /mnt/Win/games ntfs rw,users,umask=0 0 0
/dev/sda7 /mnt/Win/common vfat rw,users,umask=0 0 0
So now after mounting the directory ownership and permissions read as follows:


libu@toxicware:/mnt$ ls -l Win/
total 20
drwxrwxrwx 13 root root 4096 1969-12-31 19:00 common
dr-xr-xr-x 1 root root 8192 2007-05-24 18:44 games
dr-xr-xr-x 1 root root 8192 2007-05-24 18:44 softvideo
So now I can access the directories as a normal user as well as write into the vfat common directory.

Saturday, May 26, 2007

Setting up Decent Fonts

The fonts that came of the box was pretty sad. Well after googling around, most have the opinion that font rendering is better in Linux than in Windows, though I don't really know why that is.

Anyhow I installed the msfonts and then modified the font characteristics in KMenu->SystemSettings->Appearance->Fonts.
Check out the screenshot below:


And well I'm pretty happy with the fonts on me linux system ;) !! I set up the Firefox fonts too, although I'm not too happy with that, it good enough.

Friday, May 25, 2007

Ubuntu 7.04

The first problem I had with this new version of Ubuntu was the ATI drivers (this happened with the Dapper Drake version of Ubuntu also). The installation was a breeze, but at the end of it, I just got a blank screen. The fglrx drivers had to be installed :<.

Now before I could install the fglrx drivers through apt-get, I had to set up the network. One good thing about the installation was that NetworkManager is the default and so WPA works out of the box. But, since I had no GUI and NM does not seem to work without a GUI, I had to configure the network through the command line.

First I decided to use any available network:
$/> sudo iwconfig eth0 essid any
Then I had to get a valid IP from the Access Point
$/> sudo dhclient eth0
This configured the wireless card and I was online. Now onto install the fglrx drivers from the Ubuntu Repositories
$/> sudo apt-get install xorg-driver-fglrx
Next update module dependencies
$/> sudo depmode -a
Next configure the card through the ATI provided app

$/> sudo aticonfig --initial
Next the Ubuntu Wiki recommends to setup overlay
$/> sudo aticonfig --overlay-type=Xv

The Wiki also makes a note that since ATI does not provide correct drivers Composite Extension will not work, so disable composite extension in the xorg.conf file (Check the Wiki).